
Training Your People to Use Your LMS – Part 1: The Learners
Shauna Carson
Congratulations! You've navigated the often convoluted LMS Search Highway and made your decision - you got an LMS! Now, you have to train your people to use it. LMS users break down into two basic groups: Learners and Administrators. Each of these groups use the LMS in different ways.
In this two-part series, I'll discuss how each of these groups use an LMS, and what they must be taught in order to use it to their full advantage. I will be using SkillBuilder® LMS to illustrate various functionalities used by each group.
The Learners
Learners are the ultimate LMS end-users. They use the LMS to access course content and learn. They log in to complete tests and assessments and to track their progress. So what does a learner need to be shown to use the LMS?
Learners will have different levels of computer skills. Some will be quite comfortable with eLearning while others (and this may be a very small number) may never have used a computer. Regardless, they will need to know how to log-on to the system and how to navigate their area of the LMS.
Logging In
As I said, I'm starting with the basics. The LMS notifies the learner by email that an account has been created for them. They then go to the URL contained in the email and log in to SkillBuilder® by:
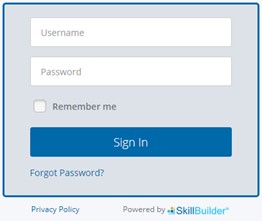
- Entering their username and password into the appropriate fields and
- Clicking Sign In
- NOTE: The LMS Administrator may create a username and password for the learner or leave that up to the learner to do for themselves
Once the learner has signed in, they reach their homepage. The homepage should, at a minimum, provide the learner with a list of assigned courses, account information and notices from the LMS administrator. Some learners will need to be taught how to navigate the homepage, so ease of use is a key consideration when choosing an LMS. In SkillBuilder®, the learner's homepage is a "Dashboard" that looks like this.
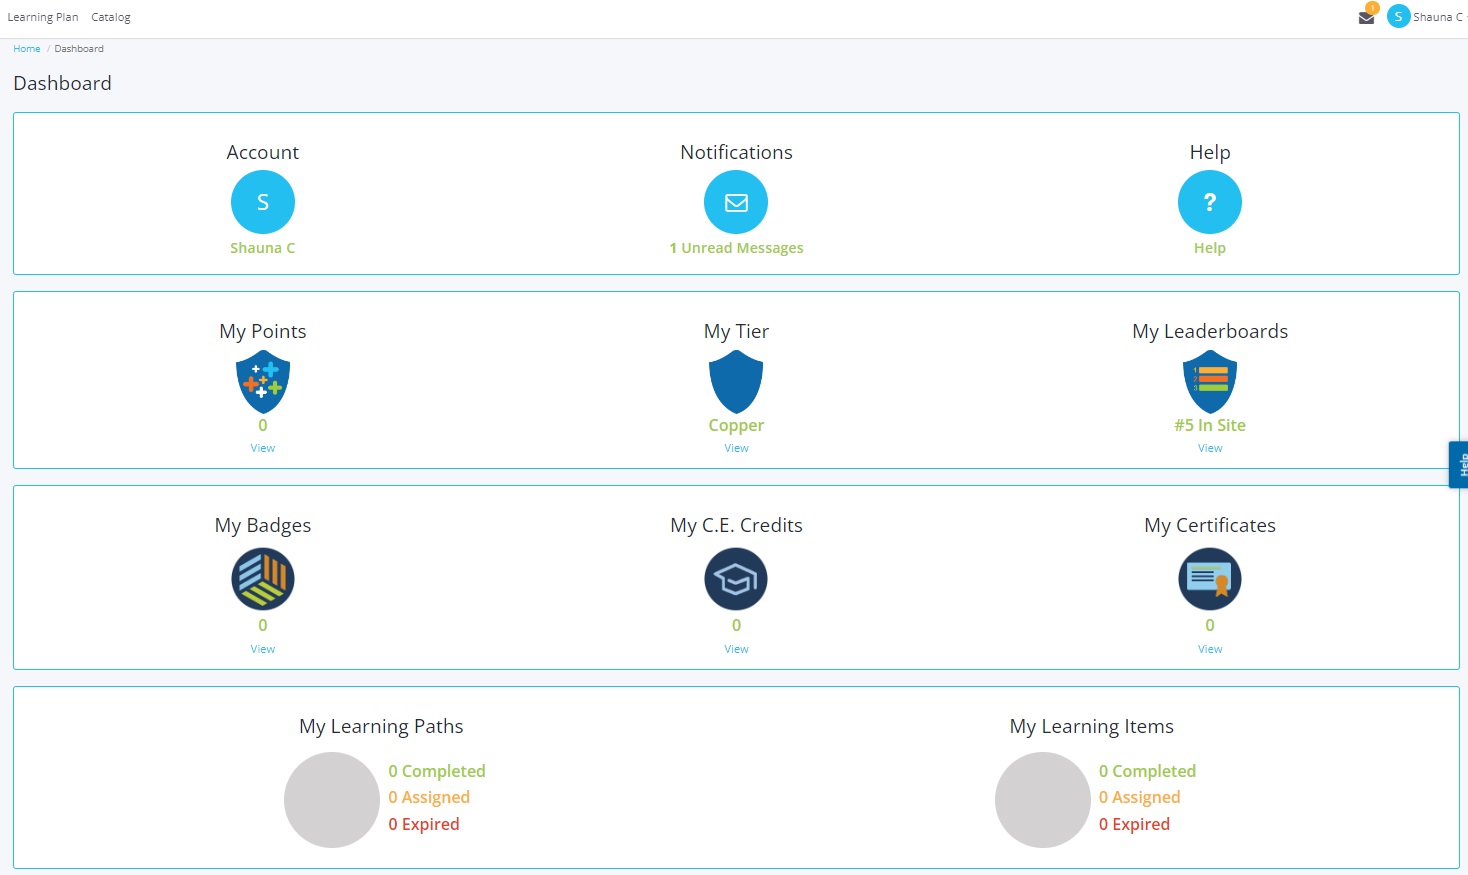
From this dashboard, learners can access their:
- Account information: Learner profile, preferences, groups they belong to, account settings and profile history
- Notifications: Like an email inbox, but with no Reply option
- Points, Tiers and Leaderboards: Gamification elements that allow learners to track their own learning achievements and see how they compare to other learners
- Learning paths: Show learners how many courses have been assigned, and their status
- Learning items: Show learners how many learning items or "milestones" they've been assigned, and their status
The homepage should also include a Help button for those times when learners cannot remember how to find what they're looking for.
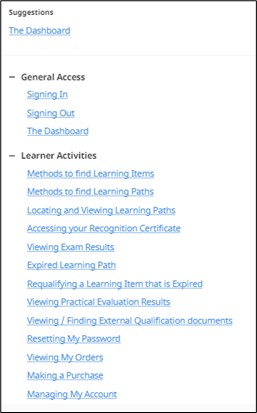
When the learner clicks the Help button, a drop-down menu appears, offering help items for all user roles.
Shown here is the Learner Activities portion of the Help menu.
Note: The SkillBuilder® Help menu includes an extensive list of items for administrators as well, but learners will only see items that pertain to them.
Accessing Learning Content
You'll need to show your learners how to access the courses they've been assigned. Learners should be able to click on a course title or learning path, then select the item they wish to learn. Learning paths and learning items can be displayed in a pictorial manner or in a list. SkillBuilder® allows learners to choose which view they prefer.
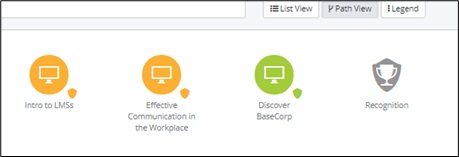
SkillBuilder® Path View
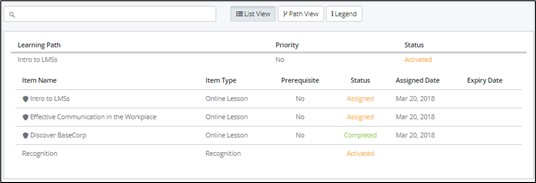
SkillBuilder® List View
Learners should be able to find and launch their courses with a simple click. In this case, I clicked on the Item Name -- Intro to LMSs -- to launch the course.
Course Navigation
Most eLearning courses are designed to be easy to navigate. They have forward, reverse and pause buttons. They may have a volume control or an off switch for the audio. They may offer closed captioning.
Course navigation is typically set up using one of the following six devices:
- Horizontal bar: Typically located at the top of the screen, topics appear in a horizontal bar, which may contain drop-down menus.
- Vertical bar: Typically located on the left side of the screen, topics appear in a vertical list, which may also contain drop-down menus.
- Tabs: Topics are displayed on tabs at the top of the screen.
- Forward / Back buttons: Buttons that allow the learner to move forward or backward from screen to screen
- Breadcrumbs: A list that shows learners where they are in the course
- Grids: A grid into which shapes, images or text may be inserted to guide the learner
For a detailed explanation of these navigation devices, see The Top 6 eLearning Course Navigation Styles by Christopher Pappas.
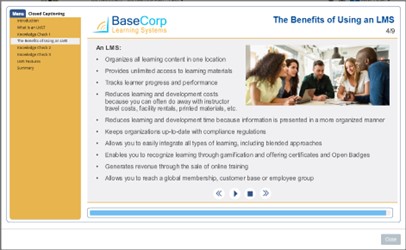
This example of a SkillBuilder® content page shows a vertical bar navigation guide. The topic that the learner is viewing is highlighted as a breadcrumb.
Reverse, Play / Pause, Stop and Forward buttons at the bottom of the screen allow learners to control the content delivery, review content or move forward to the next screen.
Training Learners to Use an LMS
Now that we've covered the basic LMS functions that learners need to know; how do you teach them to use those functions?
You can train learners to use an LMS through:
- One-on-one training sessions: This method is best used for those learners who have little or no computer skills such as refugees from developing nations or those with low literacy levels. While effective for the individual learner, this method is time-consuming and expensive.
- Facilitated classroom sessions: Classroom sessions offer learners the chance to see an instructor demonstrate how to use LMS functionalities and ask questions during and after the demonstration. Paper-based handouts are the usual take-away for these sessions. This method is more cost-effective than one-on-one sessions and requires that the audience have some degree of computer literacy. The drawback is that the learners have only their handouts to remind them of what they were shown and have no way of reviewing the actual demonstration.
- Online interactive tutorials: These are best suited to a computer-literate audience. Tutorials demonstrate each function and then ask learners to repeat each task demonstrated. Some vendors may offer such tutorials, but many of the ones I've seen are designed as marketing tools. Producing your own tutorials may be initially expensive, but if your learning audience is large, the outlay is well worth it.
Conclusion
In this first of a two-part series on training LMS users, we've discussed training learners, the end users and the reason that companies purchase learning management systems in the first place. The LMS functionalities that learners will use are limited and, for most, basic computer functions that they are already familiar with. But all learners should be shown how to access the LMS, navigate its interface and access and navigate the courses. We've explored three different ways to deliver this training; it's important to choose the method that best suits your learning audience.
In part two, I'll explain various administrative LMS functionalities, and talk about what administrators need to know.
Until then, if you want to find out more about SkillBuilder® functionalities, click here for a trial run.

Free eBook
Develop a Winning eLearning Strategy
Learn how to develop and effective learning strategy and measure the effective of your training!
📘 Ready to Elevate Your Learning Strategy?
Explore our comprehensive library of eBooks and tools on learning resource development, competency-based learning, and LMS implementation. Transform your training programs with insights from industry experts and practical templates.

Shauna Carson
Shauna graduated from the University of Toronto in 2002 with a Master of Arts in English before moving home to Calgary to work in the fast-paced, detail-oriented oil and gas industry. Now certified as a technical writer, Shauna is comfortable writing in a variety of styles, and for a variety of audiences.